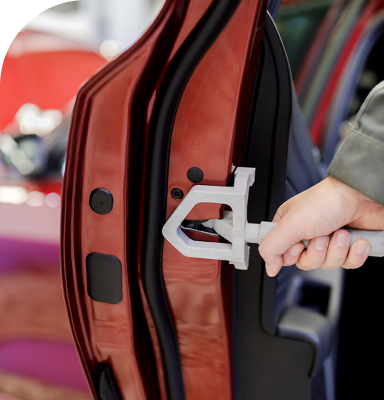
3D打印为创建比传统制造技术更实惠、更可定制的功能部件提供了广阔的可能性。但是,您必须小心将打印的材料与您的特定性能要求相匹配。最近发布的 UltiMaker PET CF 是一种碳纤维复合材料,具有令人印象深刻的强度、刚度和耐热性能,非常适合制造高性能零件。
然而,PET CF也是UltiMaker第一种能够增强性能的材料。这是因为PET CF的设计和测试考虑到了退火。退火是一种后处理程序,用于细化3D打印零件,增强其结构完整性和耐用性。在本指南中,我们将探讨PET CF零件退火的好处,并指导您如何做到这一点。
退火是一种传统上用于冶金和玻璃制造的热处理工艺,用于释放应力、提高延展性和改善材料性能。基本原理涉及使用专用烤箱将材料加热到特定温度,然后以受控速率冷却。
当应用于3D打印部件时,特别是那些由PET CF等半结晶材料制成的部件 Nylon,退火可以提高机械性能,如抗拉强度、刚度和耐热性。退火的结果将根据所使用的材料而有所不同。因此,该过程可能很复杂,并可能产生意想不到的结果。然而,UltiMaker PET CF是专门为退火而设计的。
PET CF is especially suited to annealing due to its semi-crystalline structure. Many 3D printing polymers such as ABS and PETG have an amorphous structure which means the polymer chains within them are arranged in a chaotic way. Similar to a bowl of spaghetti on a molecular scale. Crystalline structures are made up of ordered chains that result in better strength properties. A semi-crystalline material like PET CF can be crystalized by heating it to its glass transition point so that the polymer chains within it become more organized, and therefore stronger.

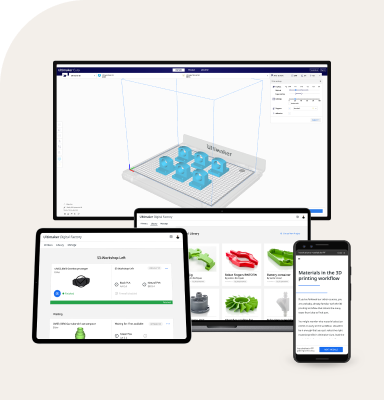
The suitability of PET CF, combined with the extensive testing and validation that we performed while developing it, makes it the perfect candidate for annealing. If you follow the guidelines in this article, you will end up with a part that is stronger, stiffer, and more heat-resistant. We have also given performance numbers for both the standard and annealed versions of the material in the PET CF technical data sheets, so you can know how your final part will perform.
Based on those numbers, you can expect the following performance increases:
These improvements are huge and make PET CF a viable replacement for metal and carbon fiber parts created using costly traditional manufacturing techniques.
Before we explain how you can realize these impressive improvements, let's talk quickly about the downsides of annealing your parts and in which situations you may want to avoid doing so.
Firstly, your part will shrink slightly when it is annealed. This is one of the reasons why the process is so complicated. It’s also possible for your part to warp or sag while being heated. Luckily, however, we can compensate for both of these issues. We will explain how during the next section of this blog.
The second and more impactful downside is that there will be a reduction in some of the specific mechanical properties of your part. Particularly, impact resistance and Z-adhesion resistance. Your part will be less resistant to pressures perpendicular to the orientation in which it was printed. You can expect a decrease of tensile strength in the Z-axis of around 15%. For this reason, it’s important to carefully consider how your part is oriented during printing so that your final part is not weakened in the direction in which force will be applied to it.

To ensure success when annealing your part, you need to consider the requirements of annealing at every step. That starts with selecting (or designing) your 3D model. The annealing process does not work well on models with thin walls. For best results you should avoid walls of less than 4 mm thickness and try to adhere to part design best practices.
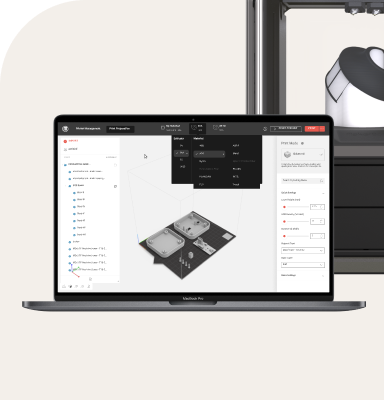
Next, when slicing your part, you need to compensate for the shrinking process. For PET CF, the shrinkage experienced during annealing is - 0.3% in the XY axis’ and - 1.7% in the Z axis. You can compensate for this manually by enlarging your part but that is not necessary when using UltiMaker Cura. Instead, you can choose the professionally tailored annealing intent profile and it will apply the relevant compensations automatically.
Finally, you need to make sure that supports are used if your part has any significant overhangs or bridges. This is because these features can sag during the annealing process. You can choose to use either regular supports (support structures printed with PET CF) or multi-material supports using the UltiMaker Breakaway support material.
Once you have selected the annealing profile, you can slice and print your part. When removing your part from the printer, do not take it off the build plate. This is because the part needs to be annealed in the same orientation in which it was printed. Putting the print in the annealing oven still attached to the build plate is an easy way to ensure this while making sure that any supports remain in place. Both flex plates and glass plates can be used in an annealing oven.
Now, it’s time to operate your annealing oven. Any oven designed for annealing can be used but we recommend a high-quality professional machine such as the Binder FP115.
Before turning on your oven we need to determine how long it should be annealed for. You can do this by measuring the thickest section of your part. The annealing time in hours is the thickness in mm / 2. Let's say your part is 4 mm thick, then you would need to anneal the part for 2 hours at the annealing temperature. The specifics of programming your annealing oven should be provided in the user manual for your oven.
A verified annealing profile for a PET CF sample of 4 mm thickness is depicted below. Different annealing temperatures (Tc) can be decided upon based on property preferences. Higher temperatures will result in a part with higher thermal resistance but lower stiffness and increased shrinkage. It is advised to maintain heating/cooling ramps for optimal results. High-temperature annealing will therefore result in longer annealing times.

A profile for the Binder FP115 can be downloaded here.
| Process | Duration (h) | Temp (°C) | Ramp (°C/h) |
|---|---|---|---|
| Start | (N/A) | 20 | (N/A) |
| Heat to Tg | 1 | 75 | 55 |
| Unstress | 1 | 80 | 5 |
| Heat to Tg | 1 | 120 | 40 |
| Anneal | 2 | 120 | (N/A) |
| Cool to Tg | 2 | 80 | - 20 |
| Cool to RT | 1 | 50 | - 30 |
| Total | 8 |
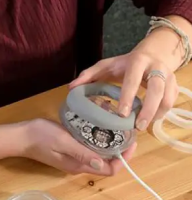
Once the object is cooled down and retrieved from the oven, the annealing process is completed, and the part is ready for use. Regular post-processing methods like sanding, polishing, and coating can be applied if desired.
Here is a quick recap of all the steps needed to anneal your part:
We hope this guide helps you get the most out of your materials. Annealing can seem like a confusing process but UltiMaker PET CF makes it easier than ever!